
 MORE LOCATIONS
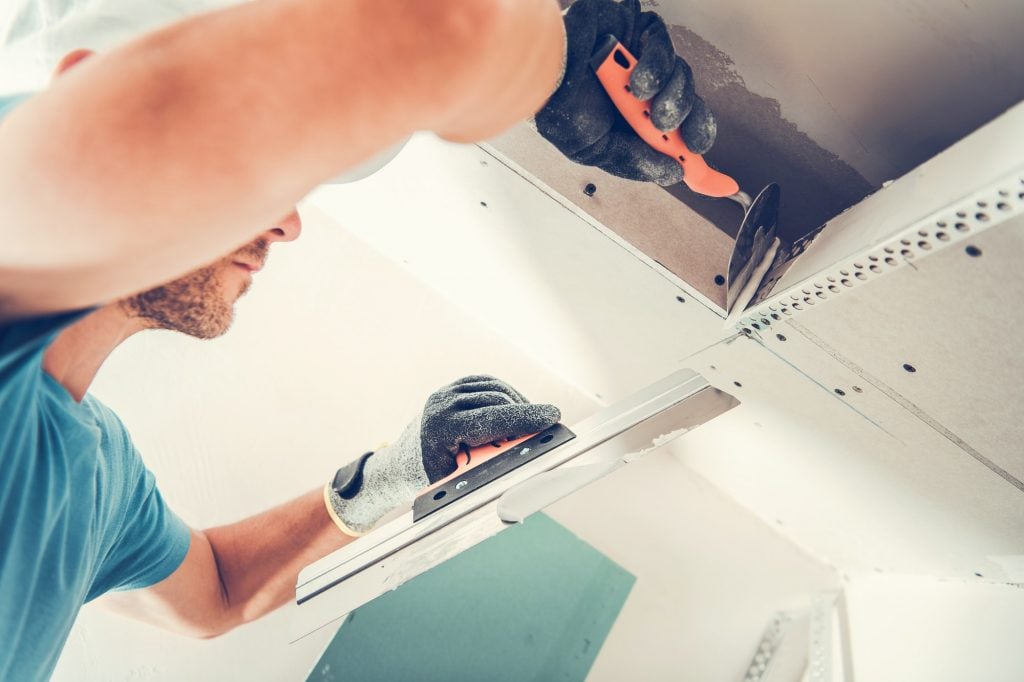
Follow these instructions from an interior designer to finish your basement in easy steps
Finishing a basement is an easy way for having some extra space in your home. This is much cheaper than going for home addition or remodeling project. A basement can be redesigned to fit any purpose. It can serve as an extra bedroom, as an entertainment room, laundry room, or a home gym. Remember to follow these easy steps while finishing your basement.
Plan Your Budget & Timeline
- Generally, an average basement finish is expected to cost you around 25$ – 50$ per square foot. If you select top-of-the-line products, then your costs can soar to a few thousand dollars.
Most people have reported that their basement finishing projects were completed within 2 months. However, if you hire a professional service, they can speed up the project and complete it in a shorter time.
Obtain a Permit
- It is important to obtain a permit before you begin your basement finishing project. A permit can be received by visiting the Development Authority of your local government.
If you ever plan on selling the house, the permit along with other documentation will help you set a better price.
Inspect for Moisture and Humidity
- Before you begin your basement finishing project, it is imperative to visually inspect it for signs of moisture and humidity. Are the walls and floors dry? Can you feel the dampness in the air while breathing? Do you notice mold growing anywhere? Have you ever experienced a wet wall or flooding in your basement?
Inspecting for moisture and humidity before starting your project will help you fix this problem. By waterproofing your basement, you can avoid damages to your property due to humidity, dampness, and moisture.
Utilize Waterproofing Equipment & Tools
- There are several ways to take care of humidity and moisture, considering your problem isn’t too bad. Sump pumps and dehumidifiers are the first logical step. You can insulate pipes to prevent condensation and other reasons for moisture buildup in walls. You can also minimize plumbing by restricting it to a single wall. A humidistat exhaust fan will turn on only when the air is damp enough. It will help to regulate and minimize humid air.
Installing Windows as a source of light and fresh air will make sure your basement doesn’t reek of humidity. Windows are actually recommended by most experts as a sure-shot way of dealing with basement humidity and moisture.
Insulate & Finish Basement Walls
- It is important to insulate your basement walls. Most people use polystyrene foams and adhesives as they are the best insulators.
The next step is to build a good structural framing and to install electrical, plumbing, and ventilation ducts. After completing this step, waterproof drywall is mounted which is then painted.
Select An Appropriate Ceiling
-

After finishing your walls, you can now decide on what type of ceiling you want for your basement. You can choose between an open ceiling, a hanging ceiling, or a drywall ceiling.

An open ceiling is the easiest while a drywall ceiling is the most difficult in terms of installation. These days many people are opting for a hanging ceiling. A second ceiling is installed below the original ceiling using interlocking tiles and frames.
Install Waterproof Flooring
- This is the last step in your basement finishing project. While most people would opt for simple flooring, it is important to select the one that is waterproof.
Hire a Professional
Waterproofing your basement before starting your finishing project is essential. Otherwise, you are at the risk of wasting all of your investment and hard work. You can consider hiring Crack-X. We are a leading civil structure repair company serving Maine and New Hampshire. Our experts will professionally inspect your basement. We can offer you waterproofing services so you can start your basement finishing project with peace of mind.