
 MORE LOCATIONS
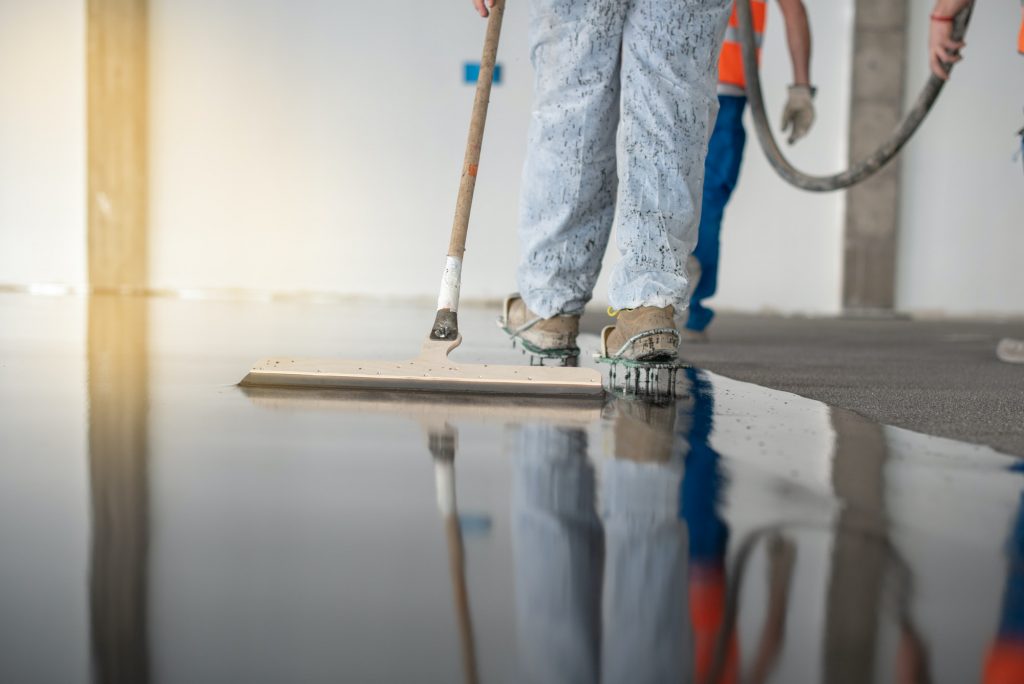
Read on for a step-by-step guide to DIY epoxy garage floor coating
For residential garages, epoxy floor coatings are one of the best flooring solutions because they have excellent durability and are super resistant. With hundreds of epoxy products and DIY systems, installing an epoxy coating has become convenient. With this step-by-step guide to installing epoxy floor coating, you can easily install the coating yourself.
Step 1
- The first and foremost step before starting any DIY project is the instructions. Read through the instructions carefully before starting the project. There are several types of coatings on the market and the application of each one differs from the other.
Your floor coating comes with instructions, you must read and gather all the necessary materials mentioned in the instructions. If steps are not followed properly this may lead to failure after the application of the floor coating.
Step 2
- It is important to ensure that the area you want to coat is clean and does not contain any sort of debris or clutter. Clear the floor of all the equipment and gather all the necessary safety materials before you begin. Make sure you have protective goggles and gloves especially if you are acid etching.
Acid etching solutions can lead to eye and skin irritation, therefore it is important to wear protective clothing. Once you have all the safety tools on hand, it is time to start prepping the floor with your desired prepping method.
Acid Etching
- If you want to go with acid etching, remove all the dirt and dust by power washing the floor first. While the floor is still wet apply the acid etching solution to your floor by using a stiff bristle broom.
Once you have thoroughly scrubbed the entire floor, let the acid sit for about 45 minutes. When the acid etching solution stops foaming, it’s time to rinse the floor to neutralize the acid and water solution.
Time Required
- Allow the floor to dry for a good 24 hours before you move on to the next step. Drying time varies from a few hours to 24 hours depending on air circulation, coarseness of the floor, and temperature.
Diamond Grinding
- Diamond grinding is an ideal prepping option especially if you want to remove the old paint and grim.
Shot Blasting
- It is a useful method when you need to remove glue, adhesives, and any other guck. A sander will work best if your floor is in a good shape and only needs to be scratched up.
Clear the floor of the debris and residual dust before going to the third step. Dust and other particles will lead to an uneven finish and spots on the final coating.
Step 3
- Find an area to set up your working station. Make sure that your workstation is set in an area that is easily accessible and has exit routes away from the coating area. It is preferable to set your workstation right outside the garage.
Lay the plastic sheet and tape down its edges to keep it in place. Now roll out the painter’s cardboard on the plastic sheet you just laid. This gives you a spot for mixing your paint. In the next step lay out all of the tools that you are going to use.
Tools Required
 Epoxy
Epoxy- 9” or 18” Roller Frames
- 9” or 18” Nap Rollers
- 3” Handled Rollers
- Rolling Stick Pole
- Garbage Bags
- Power drill
- Metal Mixer
- Wooden Mixing Stick
- Paintbrushes

Paint the garage floor with blue painter’s tape such that it meets the seam between the floor and the wall. Once set up is complete it’s time to start mixing the epoxy. This step will be discussed in part 2 of this article.
If you are not comfortable installing an epoxy floor coating by yourself then contact us at 877-727-2259 our experts will take care of your floor. Crack-X is a civil structures repair company operating in Maine and New Hamp