
 MORE LOCATIONS
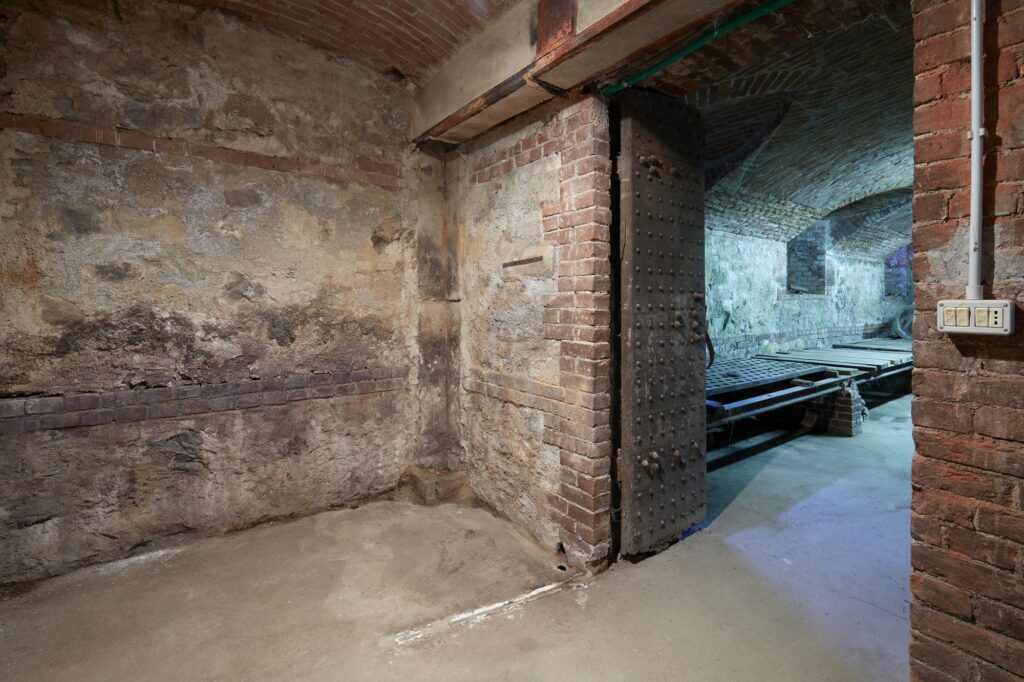
Essential DIY Basement Waterproofing Tips for Your Connecticut Home
Basement waterproofing is a crucial preventive measure for protecting your property from water damage, mold, and structural issues. While some tasks are best left to professionals like Crack X, homeowners in Connecticut and nearby areas can take several steps to waterproof their basements on their own. This DIY guide will help you identify and tackle common issues that lead to water intrusion, keeping your basement dry and healthy.
Step 1: Evaluate Your Basement for Water Issues
- Begin by inspecting your basement thoroughly. Look for telltale signs like moisture patches, mold growth, a musty odor, or efflorescence (white, chalky residue). Check for visible cracks in both foundation walls and the floor, as these often allow water to enter.
Determine if the issue stems from external sources or internal sources. Knowing the root cause helps you decide which waterproofing techniques will be most effective.
Step 2: Improve Outdoor Drainage Around Your Foundation
- Clogged gutters can force rainwater to overflow, pooling near your foundation. Regularly clean them to ensure water flows freely away from your home. Make sure your downspouts extend several feet away from your foundation. You can attach flexible extensions or splash blocks to help direct water further from your basement walls.
Homeowners with basic DIY skills can consider installing a French drain system around the perimeter. This involves placing a perforated pipe in a gravel-filled trench to redirect water away from the foundation.
Step 3: Seal Foundation Cracks and Wall Gaps
- Hairline cracks can be sealed with hydraulic cement or epoxy-based sealants. Clean the area before applying the product and follow all manufacturer instructions.
Look for openings where pipes or vents pass through walls. Seal these gaps with polyurethane caulk or spray foam.
Step 4: Strengthen Interior Basement Protection
- Interior walls and floors can be treated with waterproofing paint or coatings. These products form a moisture barrier that helps stop minor seepage.
Place a sump pump in the lowest part of your basement to remove collected water. Connect it to a discharge pipe that leads the water away from the home. Regular maintenance ensures it functions properly during storms.
Step 5: Control Moisture and Air Quality
- A dehumidifier is essential for reducing excess moisture in your basement. Choose one that matches the size of your space and empty the tank often, or hook it up to a drain for continuous use.
Improve air circulation by installing exhaust fans, opening windows, or using ventilation systems. This helps prevent the buildup of damp air, which contributes to mold growth.
Step 6: Maintain and Monitor Your Waterproofing System
- Keep an eye on your basement and foundation. Look for new cracks, water stains, or mold growth. Regular inspections allow you to catch problems early.
Pour water into the sump pit to make sure the pump activates and removes the water. Test it periodically, especially before heavy rains.
Step 7: Be Smart About Landscaping and Watering
- Be cautious with irrigation systems and plants close to your foundation. Too much water near the home can saturate the soil and increase the risk of seepage.
DIY basement waterproofing can be effective for addressing common water intrusion issues. However, if your basement has persistent flooding, large foundation cracks, or structural concerns, it’s time to call in a professional.
Need Help with Basement Waterproofing in Connecticut?
Crack X offers expert basement waterproofing and foundation repair services in Connecticut and nearby areas. If your DIY efforts aren’t enough or you want peace of mind, contact our team for professional basement waterproofing services. Our specialists will inspect your property and provide the best solution and advice regarding basement finishing. Call us at (877) 727-2259. We are a civil structures repair company operating in Maine and New Hampshire.