
 MORE LOCATIONS
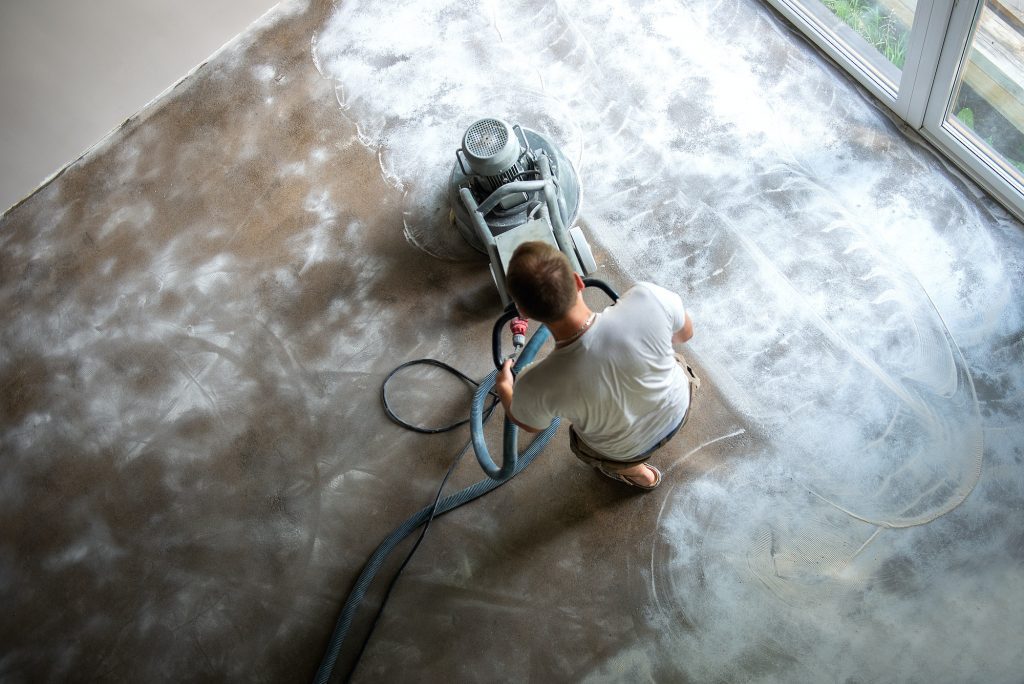
Here are some tips for applying epoxy coating for a better look
Whether it’s a garage or showroom at your business, the epoxy coating can spruce up the look of any floor. Epoxy floor coating provides several advantages regardless of where it is installed. Here are a few practical tips that should be kept in mind while applying an epoxy coating.
Preparing Epoxy Resin Mix
- Read the instructions carefully, gather all the tools, and start mixing the epoxy resin. It is better to mix a few samples if you are doing it for the first time. This enables you to get a better idea about the curing time.
- Ensure that the surface on which you are applying the epoxy is clean before you use the epoxy resin mix. Otherwise, you will end up having dust bunnies in your final product.
- Use a fresh brush and clean it to remove any loose fibers from the brush. Use a bristle brush or nap roller to get the best results. A chip brush is necessary for sanding.
- Epoxy should not be kept in extremely cold or dry places. Heat accelerates the curing process, while cold weather hinders epoxy adhesion. Ensure that the room and floor temperature is adequate for properly bonding epoxy resin.
Application Of Epoxy Resin
- Epoxy is affected by humidity and temperature. So, it should not be applied for hot coating in cold temperatures or on days when the humidity level is high. Once you have prepared the epoxy resin mix, allow it to sit for a few minutes before pouring it. High temperatures can speed up curing. In warm temperatures, use ice packs in a zip-lock bag to cool the bucket of epoxy. Alternatively, you can add paint thinner to elongate pot life.
- Mix the epoxy well and spread a thin layer with the help of a squeegee. Use a brush to finish the edges. Use a back roller to remove any air bubbles and spread-out areas that have excess epoxy.
- Let the first coat dry before applying more epoxy. It takes approximately 2 hours or more for the first coat to harden. Apply the resin by the W method or in a crisscross manner for the best results. Give it time to settle.
Clean Up And Curing
 Monitor the site until the resin has cured. Surface contamination can result in fish eyes and low spots on any project. Once you have applied the epoxy and ensured no low spots are present, monitor the site the next day to check if proper hardening has occurred.
- You can benefit from a slow resin if the cure time is quick. In the same way, use a quick hardener if the cure time is slow.
- Allow the epoxy resin to cure at room temperature. Once the epoxy has completely cured, mechanical and sanding removal will be required. Remove the edging tape when the running and dripping have stopped.
- Use denatured alcohol for clean-up purposes. For cleaning the squeegees, wait for an entire night. It is easier to clean squeegees when the epoxy has hardened. Let your tools sit in a bucket of rock miracles overnight. Rock miracle is a noncombustible varnish remover. Wipe off the hardened epoxy and clean it with denatured alcohol. Once you are done, dry your tools well. It is better to use a new brush every time. In case any material comes in contact with your skin, immediately use warm water and soap to remove it. Avoid touching your eyes.

If you are interested in installing an epoxy floor in your home, then give us a call at 877-727-2259. Crack-X is a structural repair company operating in Maine and New Hampshire. We also specialize in basement waterproofing and finishing. Contact us anytime.