
 MORE LOCATIONS
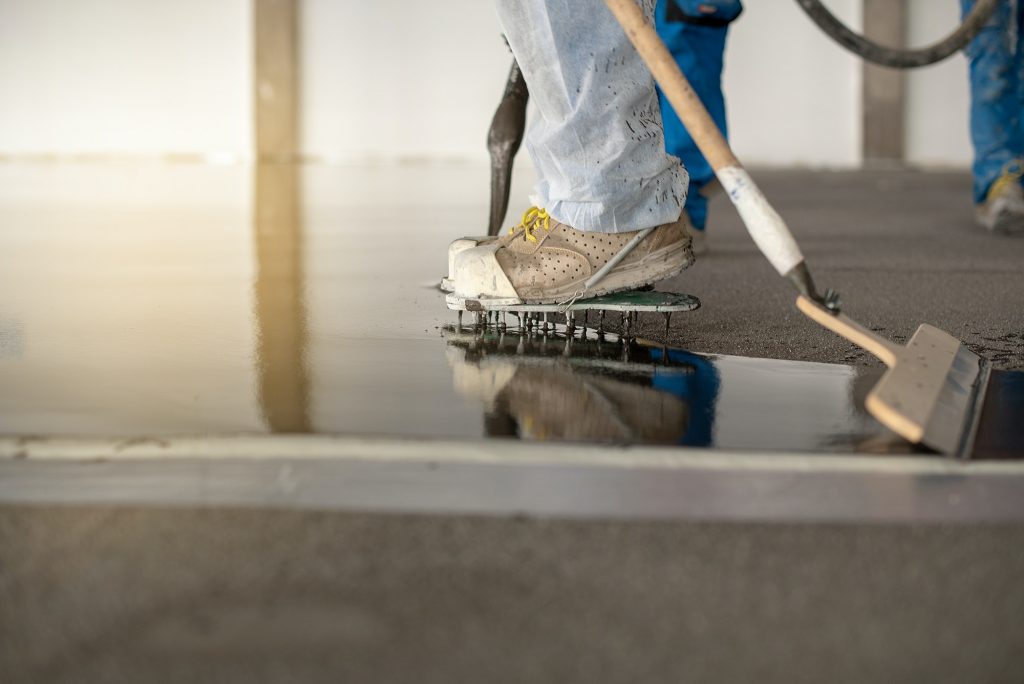
Continue reading for a step-by-step guide on DIY epoxy garage floor coating
There are several flooring options available in the market choosing the right type of garage flooring is of paramount importance. Epoxy is considered one of the best types of coating for a waterproof garage floor. This is part 2 of the comprehensive guide to installing an epoxy floor in the garage.
Step 4
- Set up all the painting sticks and rollers before mixing paint. Start by attaching the metal mixer to the power drill then pour epoxy into a bucket that has a liner. Begin to mix the paint according to the directions. To prevent materials from hardening, make sure to mix thoroughly by moving the power drill up and down and side by side.
When parts are mixed, chemical reactions occur and materials begin to harden quickly. It is advisable to start working as soon as you have mixed the coating. The working time of the floor coatings varies from product to product.
Step 5
- Pour the epoxy into the painter’s pan, it’s time to apply the first coat. Now pour the epoxy onto the floor and roll it in specific patterns. Make sure to cover every part of the floor. Repeat this process until the entire floor is coated in an even layer. If there are any spots in the paint, smooth them out.
Mix the decorative flakes well and throw them in the air to let them float onto the floor. Throw the flakes according to the flake design you desire. These decorative flakes can hide the imperfections in an extremely porous floor and make it look aesthetically pleasing.
Step 6
- Drying time depends on several factors but generally, most flooring products dry within 24 hours. It is a good idea to close the garage overnight to keep debris, leaves, and dirt from getting into the coating.
Step 7
- Mix the topcoat as per instructions and apply it the same way you previously applied the first epoxy coat. Most topcoats are clean so it is important to note the areas you have coated so you do not miss any area.
It is better to do a visual inspection once you finish. If the floor looks wet and glossy you got it right. However, if you see any spot that does not look glossy, then go back over it and cover it with the topcoat.
Step 8
 Topcoat will also take about 24 hours to dry so let it dry overnight. If there are any unused paints, leave them in a cool environment for later use and clean up your workstation.

Care should be taken while discarding the leftover paints as throwing them down the drain or sewage pipe can cause issues when the paint hardens.
Step 9
- Check your garage floor after 24 hours it should be fully cured within this time. Your new epoxy floor is now ready to be walked on. However, heavy equipment or vehicles should not be moved or put in the garage for at least 72 hours.
The floor may be hard but it is still curing and moving heavy vehicles onto the floor in less than 48 hours can cause the floor coating to fail.
If you are not comfortable installing an epoxy floor coating by yourself then contact us at 877-727-2259. Our experts at Crack X will take care of your floor and help you finish your basement like a pro. We are a civil structures repair company operating in Maine and New Hampshire.