
 MORE LOCATIONS
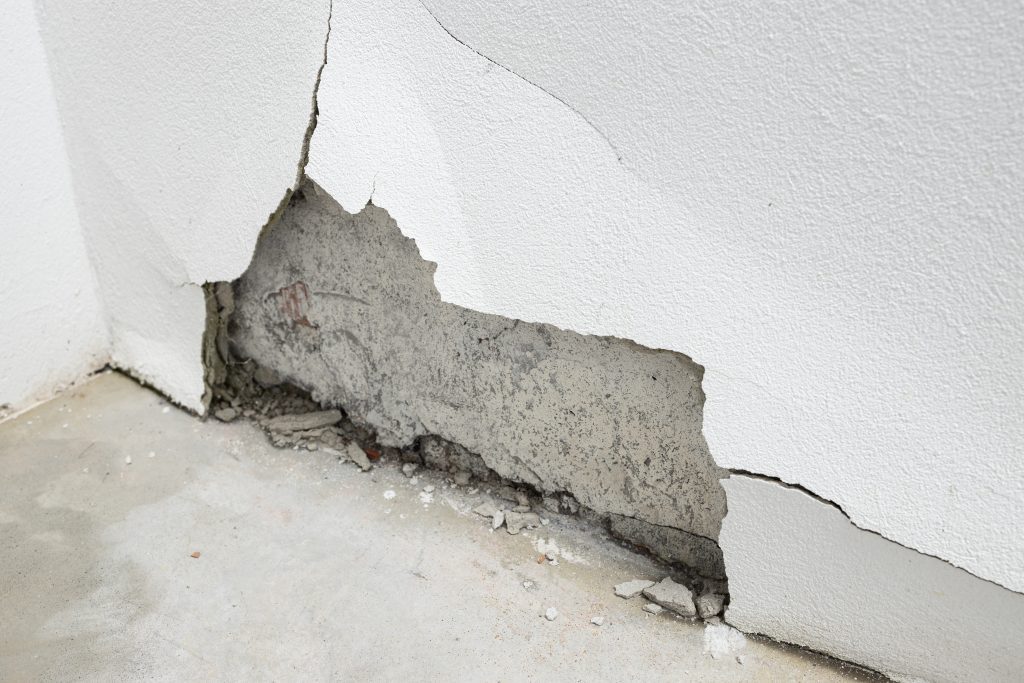
Cracking the code – Your ultimate guide to repairing hairline cracks in foundation walls
Hairline cracks in your foundation walls can be concerning, but they are a common issue that can be addressed with the right approach. Repairing these minor cracks is crucial to prevent them from expanding and causing more significant structural problems. This step-by-step guide will walk you through repairing hairline cracks in your foundation wall.
1. Choose An Epoxy Or Polyurethane Injection Kit
- Select a kit that includes a 2-part epoxy sealer, cartridges of repair compound, and injection ports, which are small plastic nozzles used to fill the crack. Start by attaching the ports to the wall, covering the crack with the 2-part epoxy sealer, and then injecting the repair compound into the crack.
Epoxy is best for dry cracks in load-bearing foundation walls and slabs. Since epoxy doesn’t adhere to wet surfaces, polyurethane is better for cracks that are actively leaking. The application process for both compounds is quite similar.
2. Clean And Prepare The Area Around The Crack.
- Use a wire brush to remove loose concrete, paint, and old sealer from the surface. Then, sweep or vacuum the area to remove any remaining dust and debris.
If you’re working on a crack in a foundation wall, place a drop cloth in the area you’re repairing to protect the floor from any drips of the repair compound.
3. Insert 10d Nails Halfway Into The Crack
- Lightly hammer 3-inch 10d finishing nails into the crack. These will help align the injection ports’ nozzles with the crack. Once the injection ports are in place, remove the nails. Leave about 1/2 to 1 inch of each nail’s shaft exposed past the port’s nozzle. This will make it easier to grasp and remove the nails later.
4. Attach The Plastic Injection Ports To The Nail
- First, mix small amounts of each epoxy part on a piece of scrap wood until they form a uniform gray color. Apply a small dab of the mixed epoxy to the base of an injection port, then slide the port over a finishing nail and press the epoxy-covered base against the foundation surface. Repeat this process to install the remaining injection ports. Once the ports are installed, remove the nails.
5. Apply Epoxy Over The Crack
- Mix the two parts of the epoxy and spread it over the crack. Ensure you cover both the crack and the bases of the injection ports with a 1/8-inch-thick layer. Let the epoxy cure for 6 to 10 hours, or follow the instructions provided in your kit.
6. Fill The Lowest Injection Port
- Load the repair compound cartridge into a caulk gun and cut about 1/8 inch off the tip. Insert the tip into the nozzle of the lowest port and squeeze the caulk gun trigger. Stop squeezing the trigger as soon as you see the compound emerging from the port above.
Once you’ve injected the compound into the first port, plug it using one of the plastic caps included in the injection port kit. Then, move on to the port directly above the first one, insert the cartridge tip, and inject the compound. Repeat this process until you’ve filled each port with compound.
7. Let The Repair Compound Cure
 Follow the curing time specified in the product’s instructions. Polyurethane injection typically cures within minutes to hours, while epoxy may require up to 5 days to fully set. Once cured, use a hacksaw to cut off the necks of the injection ports at the point where they meet the foundation wall.
 Follow the curing time specified in the product’s instructions.
 For professional and lasting repairs, contact Crack X. Our experts will inspect your property and take the necessary measures to repair your foundation wall cracks. Crack-X is a civil structures repair company operating in Maine and New Hampshire. Call us at (877) 727-2259.